Lab work today! We saw how the different chemicals were used
to make a solution to coat our sample.

But first, the preparation of the different chemicals
needed.

These are the ones used today, dissolved from solid salts previously.
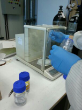
Cleaning of apparatus and specimen; via ultrasound!
Diamond-tipped “pen”; helps to cut our specimen.
Solution mixing in progress…
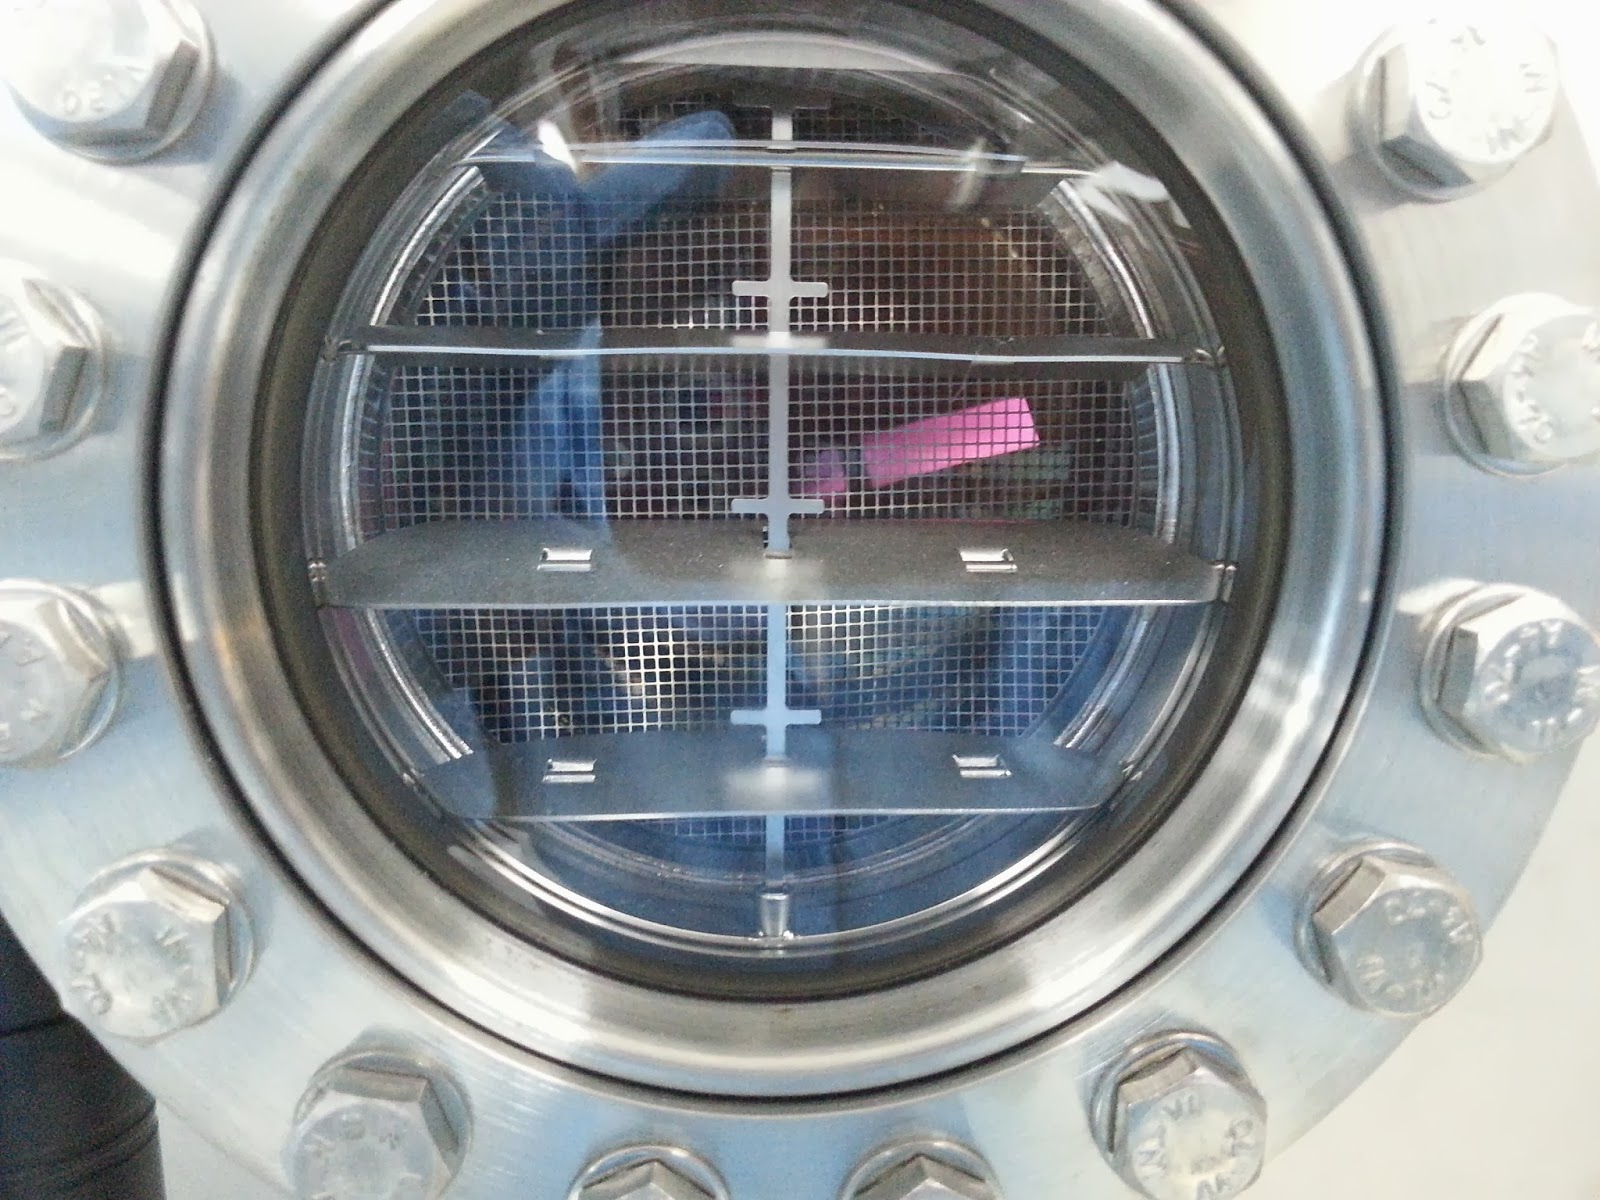
Introducing the fume hood, where waste gases are carried out.
Finally, to evaporate the solution that is sprayed on to
obtain the coating, we heat it using a hot-plate. Wrapped in aluminium foil.
Too bad the machine used to coat the specimen is faulty=1
hour of manual spraying of the solution for the
sample.
We thank you for your hard work and jiayous!
Hello everyone, and we are Team Angeline!
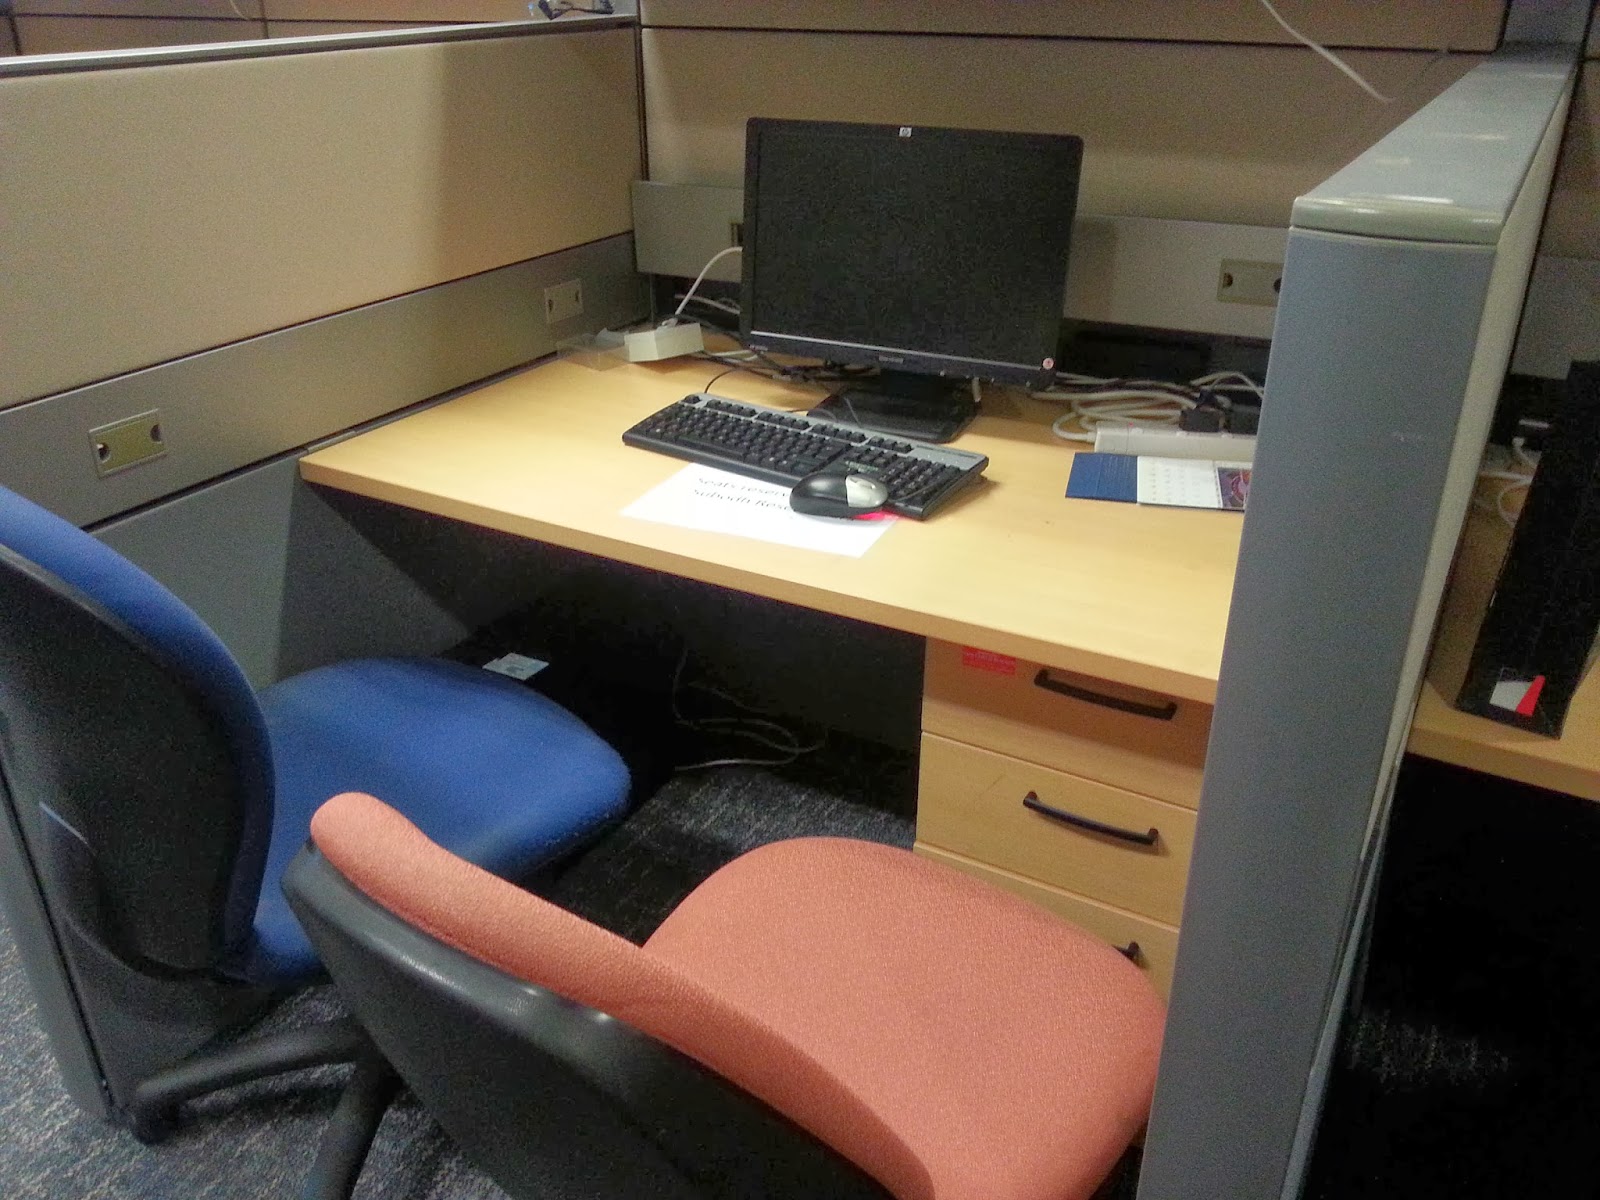
Our new office!
We have been learning about thin film solar cells, how they are made and why they are made that way. Through these two days, we have observed and tried for ourselves how to prepare the substrate: the very first layer of the thin film solar cells
Firstly, we cut the glass.
 Then we wash it for 30 minutes! No. Its not a bathtub or boiler, it uses ultrasound to clean. Don't believe me, listen to it - if your eardrums don't GO "BOOM"! Seriously, Anyone else feel their eardrums thinning?!

Now that its clean, we can coat it with the molybdenum! They called it sputtering. Vacuum suction in work!

After hours of waiting...

Oh look! Its done!
So shiny! Just don't look at it directly, its awesomeness is blinding. No wait, that's just our reflections in smart lab wear. Be careful ladies, in case you skipped one or more heartbeats.
Now we can measure how thick the layer is...with a stylus! Looks more like a needle to me. That needle is a shy one, retreating as soon as it touches the specimen...probably because we're around. Heh.
So then, we measure the distance between the specimen and the bottom most layer and thanks to our lab experts - voila!
Like magic, huh? Now then - STUPIFY!
On to the second layer tomorrow!